
S’mores Fudge Bars of Delight: A Sweet Twist on a Classic Treat
When it comes to indulgent desserts, few treats can rival the classic S’mores. This iconic campfire snack, typically made with roasted marshmallows, melty chocolate, and crunchy graham crackers, evokes memories of warm summer nights spent by the fire, surrounded by friends and family. However, while the traditional S’mores are undeniably delicious, they can be inconvenient to prepare outside of a camping setting. Enter the S’mores Fudge Bars of Delight—a modern reinterpretation of this beloved treat that captures all the flavors of S’mores in a rich, no-bake fudge bar.
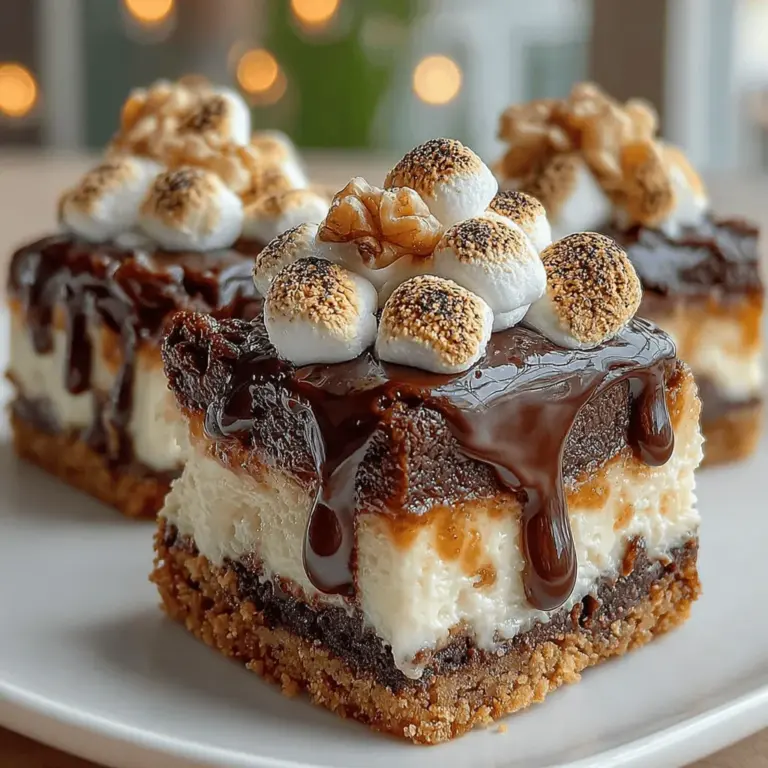
These fudge bars offer the same delightful combination of chocolate, marshmallows, and graham crackers, but with a silky fudge texture that makes them perfect for any occasion. Whether you’re hosting a backyard barbecue, celebrating a birthday, or simply craving something sweet, S’mores Fudge Bars are sure to impress. This recipe is not only simple to make but also provides a satisfying dessert that’s perfect for sharing or enjoying all on your own.
The Allure of S’mores Fudge Bars
One of the most appealing aspects of S’mores is the nostalgia they bring. Many of us remember toasting marshmallows over an open flame, carefully constructing the perfect sandwich, and eventually indulging in that gooey, sweet bite. The experience of making S’mores is almost as enjoyable as eating them, as it often comes with laughter and stories shared around the fire.
In recent years, the culinary world has embraced the versatility of S’mores, leading to innovative recipes that put a spin on this classic treat. From S’mores cupcakes to S’mores ice cream, the possibilities are endless, but S’mores Fudge Bars stand out for their ease of preparation and decadent flavor. This recipe not only retains the essence of traditional S’mores but also elevates it with a rich fudge base, making it a contemporary dessert that appeals to both kids and adults alike.
Ingredients Overview
To create these delightful S’mores Fudge Bars, you’ll need a handful of essential ingredients, each playing a crucial role in achieving the perfect balance of flavors and textures. Here’s a detailed breakdown of what you’ll need:
– Graham Cracker Crumbs: The foundation of this recipe, graham cracker crumbs provide the familiar flavor and crunchy texture that mimic the classic S’mores. They contribute a subtle sweetness that complements the other ingredients.
– Cocoa Powder and Powdered Sugar: These two ingredients work in harmony to create a rich, chocolatey fudge. Cocoa powder adds depth to the chocolate flavor, while powdered sugar sweetens the mixture, ensuring a smooth, melt-in-your-mouth experience.
– Unsalted Butter: As the binding agent in this recipe, unsalted butter not only helps to hold the ingredients together but also adds a creamy richness that enhances the overall taste of the fudge.
– Chocolate Chips: The star of the show, chocolate chips are essential for achieving that decadent fudge flavor. You can use semi-sweet chocolate chips for a balanced sweetness or opt for milk chocolate chips for a creamier, sweeter taste.
– Mini Marshmallows: These tiny, fluffy delights are what truly make the fudge bars reminiscent of S’mores. Their soft texture and sweet flavor provide that signature marshmallow experience, making each bite a nostalgic treat.
– Optional Nuts: For those who enjoy a bit of crunch, adding chopped walnuts or pecans can elevate the texture of the fudge bars. The nuts add a delightful contrast to the soft fudge and marshmallows.
– Vanilla Extract and Salt: A splash of vanilla extract enhances the overall flavor profile, while a pinch of salt helps to balance the sweetness, bringing all the flavors together in perfect harmony.
Step-by-Step Instructions
Now that we’ve covered the essential ingredients, it’s time to get started on making these S’mores Fudge Bars. The first step is preparing your baking dish, which is crucial for ensuring your fudge bars can be easily removed once they’re set.
1. Preparation of the Baking Dish: Begin by taking an 8-inch square baking dish and lining the bottom and sides with parchment paper. This step is key for easy removal, as it prevents the fudge from sticking to the dish. Allow some overhang on the sides, which will provide convenient handles for lifting the fudge out once it’s firm.
With your baking dish prepared, you’re one step closer to creating these mouthwatering S’mores Fudge Bars. Stay tuned for the next part of this recipe, where we’ll dive into the mixing process and how to achieve that perfect fudge consistency.
{{image_2}}
Creating the Base
To create the perfect foundation for your S’mores Fudge Bars, you’ll start by combining your dry ingredients with melted butter. In a large mixing bowl, combine 1 cup of all-purpose flour, 1 cup of graham cracker crumbs, ½ cup of brown sugar, ½ teaspoon of baking powder, and a pinch of salt. The combination of flour and graham cracker crumbs will give your fudge bars that classic S’mores flavor.
Next, melt ½ cup of unsalted butter in a microwave-safe bowl or over low heat on the stovetop. Once melted, pour the butter into the dry mixture and stir until everything is well combined. The mixture will be slightly crumbly but should hold together when pressed. This buttery blend acts as the perfect base to support the gooey layers above.
Pressing the Base
Achieving an even layer for your S’mores fudge bars is crucial for both texture and flavor. Grease a 9×9-inch baking pan lightly, or line it with parchment paper, leaving an overhang for easy removal later. Transfer the crumbly mixture into the prepared pan and, using your fingers or the bottom of a measuring cup, press it down firmly to create a uniform layer. Ensure that the base reaches the edges evenly, as this will help all the layers above meld beautifully during baking. Take your time with this step to avoid any unevenness that could lead to an inconsistent texture in the final product.
Melting the Semi-Sweet Chocolate
The next step is to melt your semi-sweet chocolate. You will need about 2 cups of semi-sweet chocolate chips for the fudge layer. For the best results, use a double boiler method: fill a saucepan with a few inches of water and bring it to a gentle simmer. Place a heatproof bowl on top, ensuring it doesn’t touch the water. Add the chocolate chips to the bowl and stir continuously until they melt into a smooth, glossy consistency. This method helps prevent the chocolate from burning and ensures a perfectly creamy texture.
If you prefer a quicker method, you can also microwave the chocolate in 30-second increments, stirring in between until fully melted. However, be cautious not to overheat, as chocolate can seize and become lumpy if overheated.
Layering with Marshmallows
Once your chocolate is melted, it’s time to layer in the marshmallows. Pour the melted chocolate over the pressed graham cracker base, spreading it evenly with a spatula. Now, sprinkle 2 cups of mini marshmallows evenly across the chocolate layer. This step is essential for achieving that signature S’mores flavor. Even distribution is key; each bite should include a bit of marshmallow for the best taste and texture experience.
To enhance the marshmallow flavor, you can also lightly toast them under the broiler for a minute or two before adding them to the chocolate layer. Just keep a close eye on them, as they can burn quickly.
Final Fudge Layer
With the marshmallows in place, it’s time for the final fudge layer. Melt another 1 cup of semi-sweet chocolate chips (or you can use milk chocolate for a sweeter twist) and pour it over the marshmallows. Use a spatula to spread this layer evenly, ensuring that the marshmallows are fully covered. This layer not only adds richness but also creates a beautiful contrast in color and texture, enhancing the visual appeal of your S’mores fudge bars.
Milk Chocolate Drizzle
For a professional-looking finish, consider adding a drizzle of milk chocolate on top. Melt ½ cup of milk chocolate chips in the same manner you melted the semi-sweet chocolate. Once melted, transfer the chocolate to a piping bag or a sandwich bag with a small corner cut off. Drizzle the chocolate over the top of the fudge bars in a zigzag pattern for an elegant touch. This final flourish not only enhances the aesthetic but also adds another layer of flavor.
Chilling Process
After assembling your S’mores fudge bars, it’s crucial to let them chill properly to set. Cover the baking pan with plastic wrap or foil and place it in the refrigerator for at least 2-3 hours, or until the fudge is firm to the touch. This waiting period allows the layers to meld together, creating the perfect texture. If you’re in a rush, you can place them in the freezer for about 30 minutes, but be cautious not to freeze them solid, as cutting will be difficult.
Cutting and Serving
Once your fudge bars are fully chilled and set, it’s time to cut and serve! To achieve clean cuts, use a sharp knife dipped in hot water, wiping it clean after each slice. This technique helps prevent the chocolate from sticking to the knife, resulting in beautiful, even pieces. Aim for 16 squares for a manageable serving size, but feel free to cut them smaller for bite-sized treats.
The Importance of Presentation
Presentation is key when serving your S’mores fudge bars. Arrange them on a decorative platter or a simple white plate to highlight their rich colors. Consider garnishing with additional mini marshmallows, graham cracker crumbs, or even a sprinkle of sea salt to enhance the flavors. A drizzle of extra melted chocolate can also elevate the presentation, making it look as inviting as it tastes.
You can also serve these bars with a scoop of vanilla ice cream or whipped cream on the side for an extra indulgent experience. The combination of warm fudge and cold ice cream is a delightful contrast that will impress your guests.
Nutritional Considerations
While S’mores fudge bars are undeniably indulgent, it’s important to consider their nutritional aspects. Each bar is rich in chocolate and sugar, so moderation is key. If you’re looking to customize the recipe for a healthier option, consider substituting some ingredients. You can reduce the sugar content by using a sugar substitute or dark chocolate, which has less sugar and more antioxidants.
Additionally, if you have dietary restrictions, you can experiment with gluten-free graham crackers or dairy-free chocolate options to make this recipe more inclusive. Balancing indulgence with moderation allows you to enjoy these treats without feeling guilty.
Conclusion
Creating S’mores Fudge Bars is not only a fun culinary project but also a delightful way to bring friends and family together. The blend of flavors—from the rich chocolate to the gooey marshmallows and crunchy graham cracker base—creates a harmonious dessert that everyone will love.
These bars are simple to prepare, making them perfect for gatherings or a cozy night in. Embrace your creativity by customizing the recipe to suit your taste and dietary preferences. Whether you’re serving them at a party or enjoying them as a personal treat, S’mores Fudge Bars are sure to bring joy and satisfaction. So gather your ingredients, follow the steps, and create your own batch of these delectable delights!
