
When it comes to desserts, few can rival the bright and refreshing flavors of a lemon cream pie. This classic dish, reimagined in a jar, offers a delightful combination of tangy lemon filling, a buttery crust, and light whipped topping, all beautifully layered for an enticing presentation. The beauty of serving desserts in jars not only enhances their visual appeal but also adds a layer of convenience, making them perfect for gatherings, picnics, or simply enjoying at home. As the popularity of no-bake desserts continues to rise, the luscious lemon cream pie in a jar stands out as a refreshing option that can be enjoyed all year round.
Understanding the Key Components of Lemon Cream Pie in a Jar
To truly appreciate the luscious lemon cream pie in a jar, it’s essential to understand the key components that contribute to its deliciousness. Each layer plays a significant role in creating a balanced, flavorful dessert that tantalizes the taste buds.
The Crust
The crust is the foundation of any pie, and in this recipe, it serves as a crunchy counterpart to the smooth and creamy filling. A great crust not only enhances the texture but also provides a sweet and salty contrast to the zesty lemon cream. For our lemon cream pie in a jar, the crust is typically made from graham cracker crumbs, which lend a subtle sweetness and a delightful crunch.
The Filling
The star of the show is undoubtedly the lemon cream filling. This layer is where the magic happens, as the combination of fresh lemon juice, zest, and cream creates a luscious, silky texture that is both refreshing and satisfying. The bright flavor of lemon shines through, making each bite a burst of sunshine. The filling is made from a blend of egg yolks, sugar, and cornstarch, which works together to create a smooth and velvety consistency.
The Whipped Topping
To finish off this delightful dessert, a light and airy whipped topping is added. This layer not only provides a beautiful contrast in texture but also balances the tartness of the lemon filling. The whipped topping can be made from heavy cream or a store-bought alternative, depending on your preference and time constraints.
The Garnish
Finally, a garnish of lemon zest or a slice of lemon adds a touch of elegance and a pop of color to the jars, making the dessert even more enticing. This final touch not only enhances the visual appeal but also reinforces the lemony flavor profile, inviting you to dive in.
Creating the Perfect Crust
The crust is a crucial element in achieving the ideal balance of flavors and textures in your lemon cream pie in a jar. A well-prepared crust can elevate your dessert from good to extraordinary, providing the perfect base for the creamy filling.
Ingredients for the Crust
To create the perfect crust, you will need the following ingredients:
– Graham cracker crumbs: These provide the base flavor and texture of the crust.
– Unsalted butter: Melted butter binds the crumbs together and adds richness.
– Granulated sugar: A touch of sugar enhances the sweetness of the crust.
– Salt: A pinch of salt balances the sweetness and intensifies the flavors.
Step-by-Step Instructions for Preparing the Crust
1. Preheat the Oven: Begin by preheating your oven to 350°F (175°C). This ensures that your crust will bake evenly and achieve the desired crispiness.
2. Combine the Ingredients: In a mixing bowl, combine 1 ½ cups of graham cracker crumbs, ½ cup of melted unsalted butter, ¼ cup of granulated sugar, and a pinch of salt. Mix until the crumbs are thoroughly coated and the mixture resembles wet sand.
3. Press the Mixture into Jars: Take your clean glass jars (about 8 oz. capacity works well) and spoon the crumb mixture into the bottom of each jar. Use the back of a spoon or your fingers to press the mixture down firmly and evenly. This step is crucial for creating a solid crust that won’t crumble when you add the filling.
4. Bake the Crust: Place the jars on a baking sheet and bake in the preheated oven for 8-10 minutes, or until the crust is lightly golden. Keep an eye on them to prevent over-baking, as graham crackers can burn easily.
5. Cool the Crust: Once baked, remove the jars from the oven and allow them to cool completely. This step is important, as it will help maintain the integrity of the crust when you add the filling.
Tips for Achieving the Ideal Crust Consistency
– Use Fresh Ingredients: Ensure that your graham crackers are fresh and not stale, as this will affect the flavor and texture of the crust.
– Adjust Sweetness: Feel free to adjust the amount of sugar in the crust based on your taste preference. If you prefer a less sweet crust, reduce the sugar slightly.
– Press Firmly: Make sure to press the crumb mixture firmly into the jars to create a solid base. A loose crust may fall apart when serving.
Crafting the Zesty Lemon Cream Filling
The lemon cream filling is the heart of this dessert, bringing a burst of tartness that perfectly complements the sweet crust. This layer is what sets the lemon cream pie apart, offering a unique and delicious flavor experience.
Ingredients for the Lemon Cream Filling
To create the zesty lemon cream filling, gather the following ingredients:
– Granulated sugar: This sweetens the filling and balances the tartness of the lemon.
– Fresh lemon juice: The juice adds the necessary acidity and flavor, so fresh lemons are highly recommended.
– Lemon zest: The zest enhances the lemon flavor and adds a fragrant aroma.
– Egg yolks: These provide richness and help thicken the filling.
– Unsalted butter: Butter adds creaminess and depth to the filling.
– Cornstarch: This acts as a thickening agent, ensuring that the filling sets properly.
Cooking Instructions for the Lemon Filling
1. Prepare the Mixture: In a medium saucepan, whisk together ¾ cup of granulated sugar, ½ cup of fresh lemon juice, 2 tablespoons of lemon zest, 4 egg yolks, and 2 tablespoons of cornstarch. Mix until smooth and well combined.
2. Heat the Mixture: Place the saucepan over medium heat and cook, stirring constantly. As the mixture heats, it will begin to thicken. Be careful not to let it boil, as this could cause the egg yolks to curdle.
3. Add Butter: Once the mixture has thickened (it should coat the back of a spoon), remove it from the heat. Stir in 4 tablespoons of unsalted butter until fully melted and incorporated. This will add richness to your filling.
4. Cool the Filling: Pour the lemon filling into a bowl and cover it with plastic wrap, pressing the wrap directly onto the surface of the filling to prevent a skin from forming. Allow it to cool at room temperature for about 30 minutes before transferring it to the refrigerator to chill for an additional hour. This cooling process is essential for the filling to set properly.
The combination of the tangy lemon filling and the sweet, buttery crust is what makes this dessert irresistible. In the next part of the article, we will explore the techniques for assembling your lemon cream pie in a jar, ensuring each layer is beautifully presented and ready to impress your guests.
{{image_2}}
Tips for Leaving Space for the Whipped Topping
When preparing your luscious lemon cream pie in a jar, it’s essential to leave enough space for the whipped topping. This not only ensures a balanced proportion of flavors but also enhances the visual appeal of the dessert. As you layer your lemon filling, aim to leave about half an inch of space at the top of each jar. This small adjustment will allow the whipped topping to sit beautifully on the lemon layer, making it both aesthetically pleasing and delicious.
To achieve even distribution among the jars, use a small measuring cup or a ladle to scoop out the lemon filling. This will help you control the amount you’re putting into each jar, ensuring they are filled uniformly. Additionally, tapping the jars gently on the counter after filling them can help settle the lemon cream, reducing air pockets and allowing for a smoother layer.
Whipped Topping: The Perfect Finish
The whipped topping is not just a delightful finish; it’s an essential component that complements the tartness of the lemon filling. A light, fluffy whipped cream enhances the overall experience, creating a beautiful contrast in texture. Here’s how to make the perfect whipped topping for your lemon cream pie jars.
Ingredients Required
– 1 cup heavy whipping cream
– 2 tablespoons powdered sugar (adjust based on your sweetness preference)
– 1 teaspoon vanilla extract
Step-by-Step Guide
1. Chill Your Equipment: Before starting, chill your mixing bowl and whisk or beaters in the freezer for about 10-15 minutes. Cold equipment helps the cream whip better and faster.
2. Combine Ingredients: In your chilled bowl, combine the heavy whipping cream, powdered sugar, and vanilla extract.
3. Whipping the Cream: Using an electric mixer, beat the mixture on medium speed until soft peaks form. This usually takes about 2-3 minutes. You want the cream to be fluffy but still hold its shape.
4. Checking the Texture: Be careful not to over-whip the cream, as it can turn grainy and eventually become butter. Stop mixing as soon as you see soft peaks that hold their shape without collapsing.
Piping Techniques for Aesthetics
For a stunning presentation, consider using a piping bag fitted with a star tip to pipe the whipped cream onto each jar. This technique creates beautiful swirls that enhance the dessert’s visual appeal. If you don’t have a piping bag, a simple spoon can work as well. Just dollop the whipped cream generously on top of the lemon filling, spreading it evenly for a lovely finish.
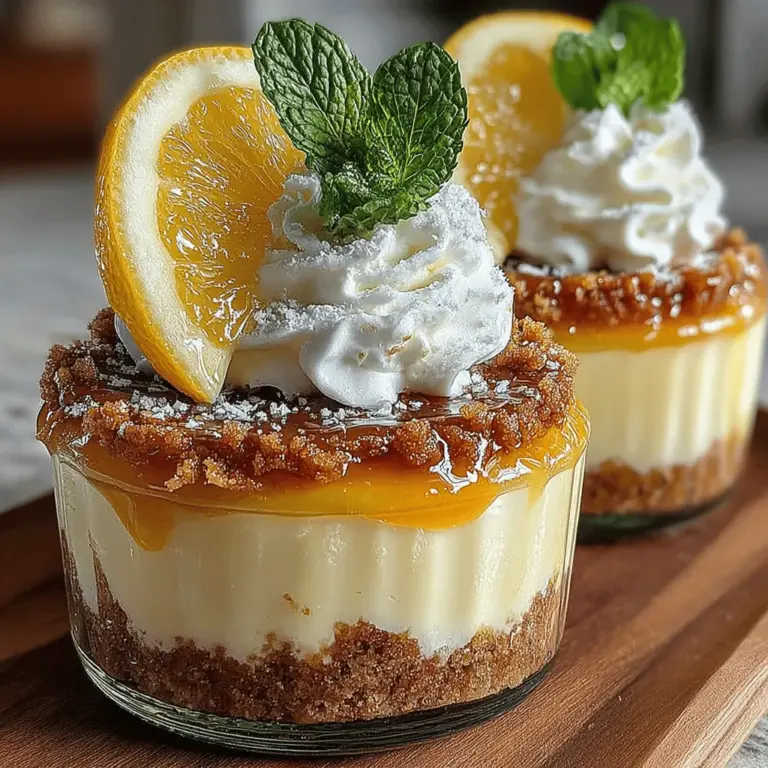
Garnishing for Presentation and Flavor
Garnishing is the final touch that elevates your lemon cream pie in a jar from simple to extraordinary. Not only does it enhance the visual appeal, but it also adds an extra layer of flavor.
Garnishing Ingredients
– Thin lemon slices
– Fresh mint leaves
Creative Presentation Ideas
1. Add Lemon Slices: Place a thin lemon slice on top of each jar. It adds a pop of color and a hint of citrus flavor with every bite.
2. Mint Leaves: A few fresh mint leaves can add a refreshing aroma and a vibrant green contrast to the yellow lemon filling. Place them strategically next to the lemon slice or on top of the whipped cream.
3. Personal Touches: Consider using edible flowers or zest from other citrus fruits (like oranges or limes) for additional flair. These personal touches not only make the jars look delightful but also allow you to showcase your creativity.
Serving Suggestions and Storing the Dessert
Lemon cream pie in a jar is a versatile dessert that fits perfectly for a variety of occasions. Here are some ideas on when and how to serve this refreshing treat:
Ideal Occasions
– Picnics: The jars are portable, making them perfect for outdoor events. Just grab a few jars and enjoy a sweet treat in nature.
– Parties: Whether it’s a birthday, holiday gathering, or casual get-together, these individual servings will impress your guests.
– Casual Family Dinners: Bring joy to your family meals with this simple yet elegant dessert. It’s a delightful way to end any meal.
Storage Instructions
To maintain freshness and flavor, store your lemon cream pie jars in the refrigerator. They can typically last up to three days. However, it’s best to add the whipped topping just before serving to maintain its light and airy texture. If you plan to make these jars in advance, consider preparing the lemon filling and storing it separately from the whipped cream.
Recommendations for Serving
Serve the jars chilled for the best experience. The coolness of the dessert complements the tartness of the lemon filling beautifully. For beverage pairings, consider serving them alongside iced tea, lemonade, or even a light sparkling wine for a refreshing treat.
Nutritional Information and Variations
As delicious as this lemon cream pie is, it’s also important to be aware of its nutritional aspects. Here’s a quick overview:
Nutritional Overview
– Calories: Approximately 250 calories per serving (without garnishes)
– Fat: 17 grams (largely from the heavy cream)
– Carbohydrates: 24 grams (mainly from sugar and lemon)
– Protein: 3 grams
Dietary Variations
If you have dietary preferences, here are some suggestions to accommodate different needs:
– Gluten-Free: This recipe is naturally gluten-free. Ensure that your ingredients (especially the cookies, if used) are certified gluten-free.
– Vegan Alternatives: Replace heavy cream with a coconut cream or a plant-based whipped topping. Adjust the sweetness as needed, since some alternatives may vary in flavor.
– Flavor Modifications: Get creative with flavors by substituting lemon with other citrus fruits, such as lime or orange. This opens up a new range of taste experiences!
Conclusion
Making and enjoying lemon cream pie in a jar is a delightful experience that combines simplicity with sophistication. The bright, zesty flavor of the lemon filling paired with the light, fluffy whipped topping creates a refreshing treat that is sure to impress at any occasion. Whether you’re serving it at a picnic, a family gathering, or a festive party, this dessert offers a unique touch that stands out.
We encourage you to try this recipe and indulge in the refreshing taste of lemon cream pie in a jar. With its bright flavors and beautiful presentation, it’s sure to be a hit with friends and family alike. Enjoy the process of making it, and don’t hesitate to add your personal touches to make it truly your own!
